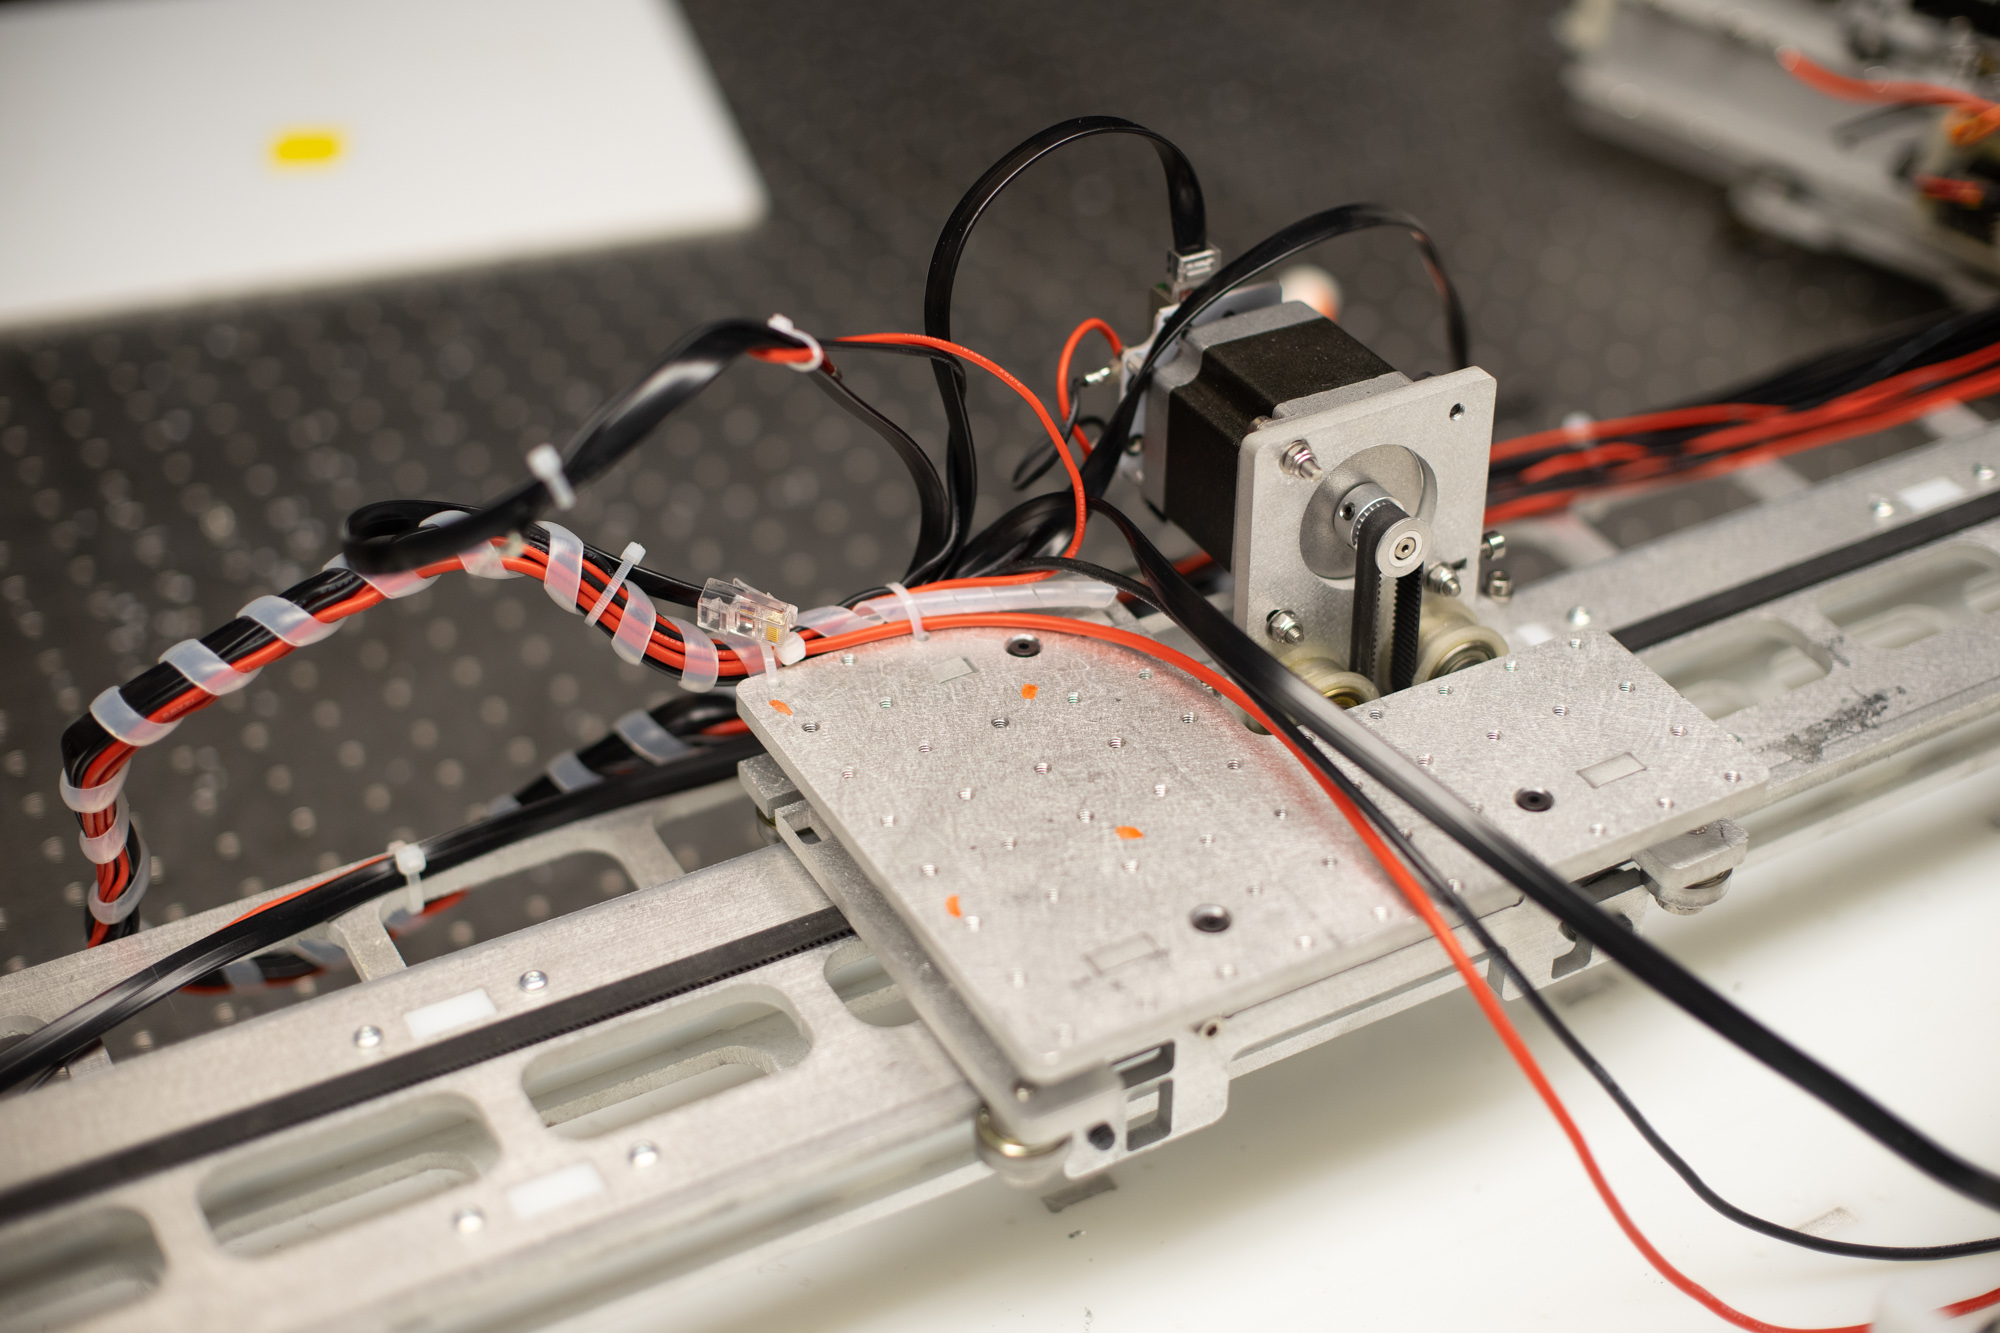
Roller Coaster Gantries
These are machine design elements that we use at the CBA when we're spinning up custom machines: they're parametric, aim to be reconfigurable, and we can make them in the lab with a minimum set of stock hardware.
Machines Using RCT Gantries
Little Rascal
Mother Mother, a generalist
Claystack, a ceramics 3d printer
the Madison Park Vocational Machine, for high schools
Usage
This repository should help you figure out how to build your own axis: it contains some explanatory drawings, videos, as well as CAD files and Bills of Materials for various design elements.
A typical machine-level workflow is described for machineweek, at this link.
First, find the model you'd like to start with on this page and download it, or clone the whole repo. The .f3d files are parametric Fusion 360 files. Files here are tuned for material thickness choices - but the exact thickness of your material can be tuned in the model: i.e. the 0.375" HDPE model will also work for ~ 8 - 11mm HDPE if you're working with sensible units in another country.
In Fusion, you can open this file up and use (from the top menu)
Modify >> Change Paremeters
Each of these models should have some parameters starred, these are what you'll want to configure. Go ahead and set axis lengths and material thicknesses according to what you're doing.
There are also two sets of hole patterns in the last two 'groups' of features on the feature history bar. One puts a 20mm square grid on top of the axis, the other on the bottom. You can leave these in, or customize them, or add whatever mounting-to-the-next-bit design you'd like.
When you're satisfied, you can export the model as a .step file, using the file menu, to prep it for fabrication.
File >> Export
Make sure to change 'type' to .step, and check the 'save to my computer' box. Now you're ready to import it into another assembly.
Alternately, you can save the changes to a new file and import that model into another Fusion 360 Assembly.
The Blocks
N17 Linear and Pinion-Type Belt

N17 Linear and Pulley-Type Belt
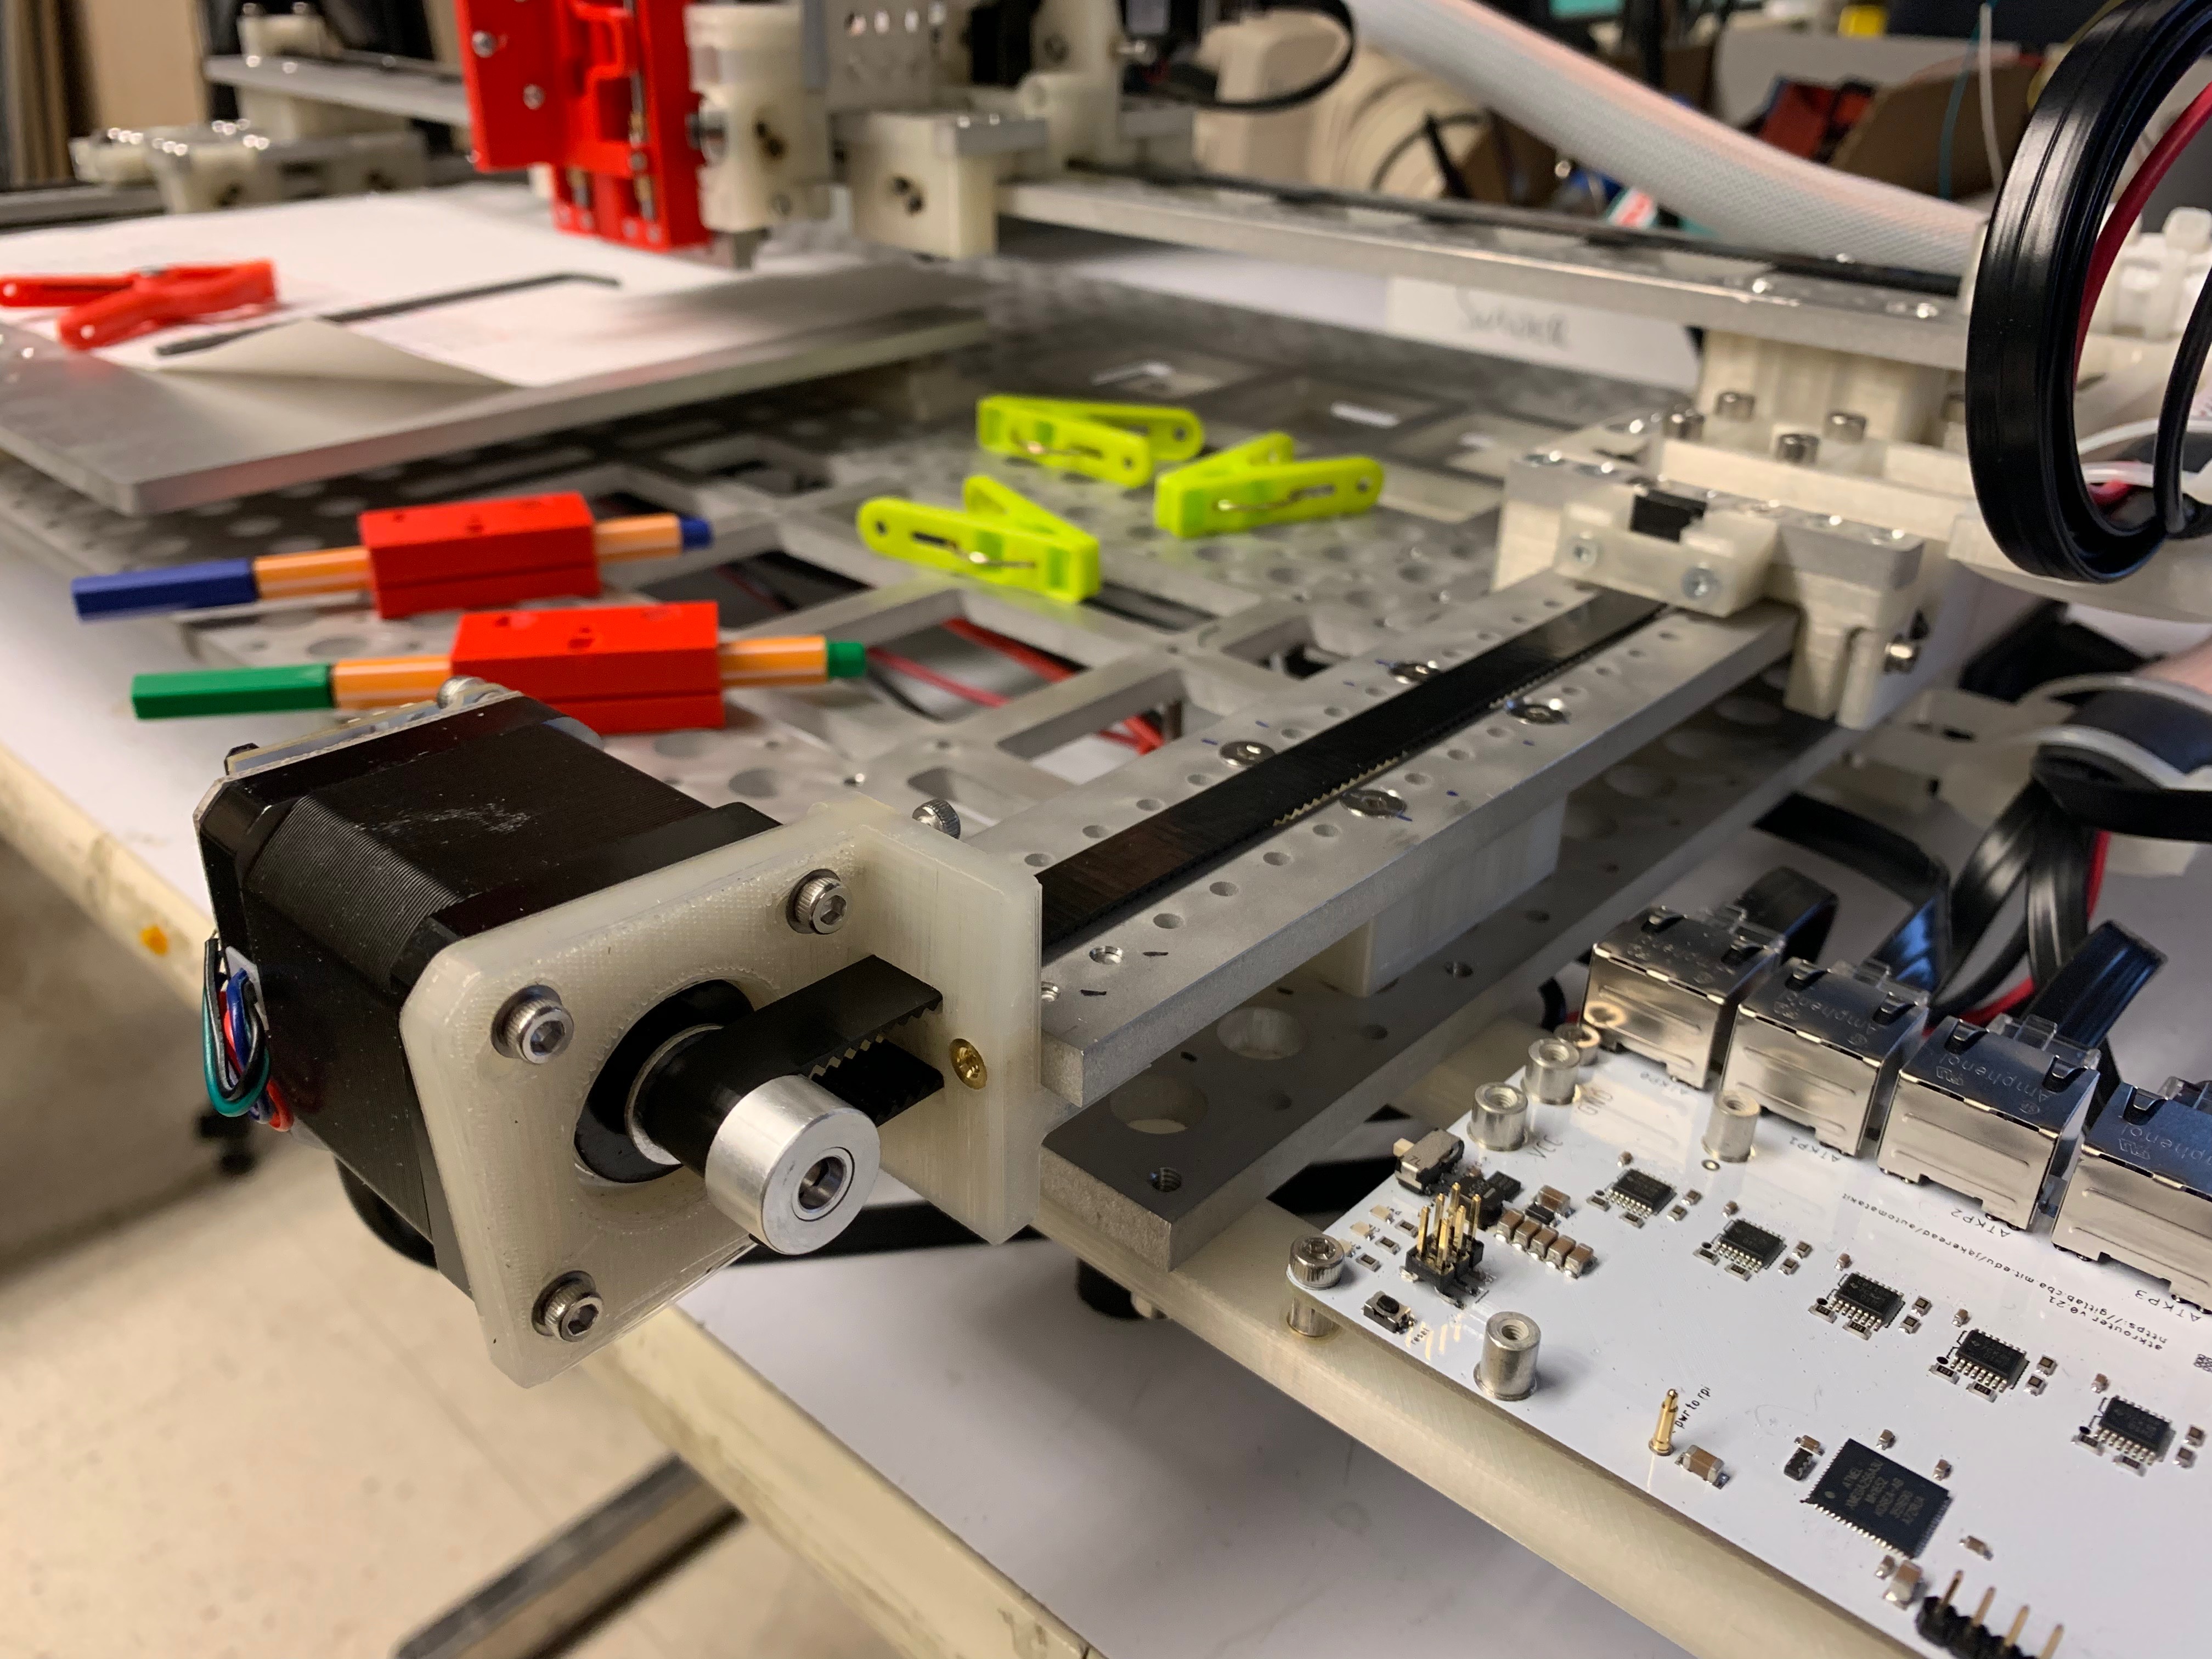
N23 Linear and Pinion-Type Belt
Bonus Kit
E Chain with Tape Measure Backbone
